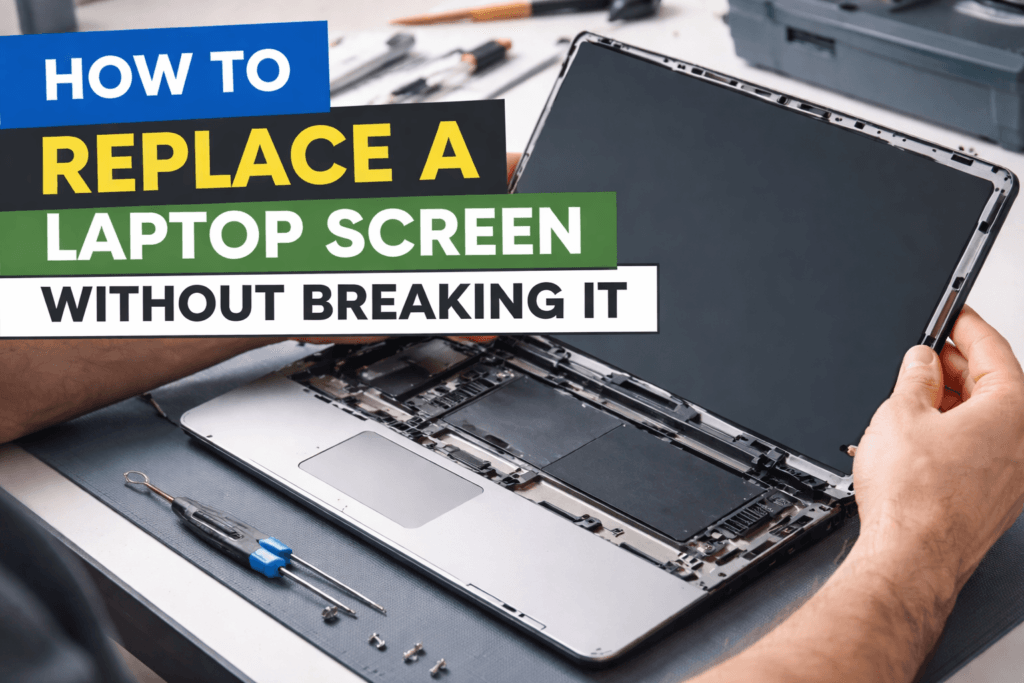
Replacing a damaged laptop screen can feel intimidating, especially for users without prior repair experience. However, with proper preparation and careful execution, you can replace a laptop screen without breaking it or damaging other internal components. Many users attempt screen replacement to save repair costs or extend their laptop’s lifespan. At Maxiple IT Services, we regularly assist customers who want safe and reliable laptop repair solutions. This guide explains each step clearly, helping you avoid common mistakes during screen replacement. Whether your screen is cracked, flickering, or completely black, following the correct method is essential. If you feel unsure at any point, professional support is available at 8882841303 for expert assistance.
Preparing Your Laptop for Screen Replacement
Before starting the repair, proper preparation is critical to prevent accidental damage. Begin by shutting down your laptop completely and unplugging the power adapter. If your laptop has a removable battery, take it out carefully. Place the laptop on a clean, flat surface with adequate lighting to avoid losing small screws.
Selecting the correct replacement screen is equally important. Always check your laptop model number, screen size, resolution, and connector type. Using the wrong screen can lead to display issues or permanent damage. Careful preparation ensures the screen replacement process proceeds smoothly and safely.
Tools Needed to Replace a Laptop Screen Without Breaking It
To perform a safe replacement, gather the correct tools beforehand. You will need a small Phillips screwdriver, a plastic prying tool, and an anti-static wrist strap. A microfiber cloth is useful for cleaning the new screen. Proper tools reduce unnecessary pressure on fragile components.
Safety Measures Before You Replace a Laptop Screen Without Breaking It
Always ground yourself before touching internal laptop parts to prevent static discharge damage. Avoid rushing during the process and never apply excessive force. Working patiently helps reduce the risk of cracking the new screen.
Removing the Damaged Laptop Screen Safely
Once the laptop is prepared, the next step is removing the damaged screen carefully. Start by locating the screws that secure the bezel, which are often hidden beneath rubber covers. Remove these screws and store them safely. Use a plastic prying tool to gently loosen the bezel around the screen edges.
After removing the bezel, unscrew the brackets holding the screen in place. Slowly tilt the screen forward to access the display cable. Disconnect the cable carefully without bending or pulling it forcefully. Handle the broken screen cautiously, as cracked glass edges can cause injury.
Bezel Removal Tips to Replace a Laptop Screen Without Breaking It
Apply gentle pressure while removing the bezel, starting from one corner and working around evenly. Avoid metal tools, as they can scratch the laptop frame or damage the new screen.
Disconnecting Display Cables Without Screen Damage
The display cable is a delicate component that must be handled carefully. Pull the connector straight out without twisting it. A secure cable connection is essential for proper display performance.
Installing the New Laptop Screen Without Breaking It
After removing the old screen, place the new replacement screen face down on a soft surface. Carefully reconnect the display cable, ensuring it is fully secured. Align the screen with the mounting brackets and tighten the screws evenly to avoid pressure points.
Before reinstalling the bezel, power on the laptop to test the display. Check brightness, color accuracy, and resolution. Testing at this stage allows you to correct issues without repeating the entire process.
Aligning the Screen to Replace a Laptop Screen Without Breaking It
Correct alignment prevents uneven pressure that may crack the screen later. Ensure the screen sits flat within the frame and does not bend when secured.
Testing the Display After You Replace a Laptop Screen Without Breaking It
Turn on the laptop and observe the display carefully. Look for flickering, dead pixels, or loose connections. Confirm everything functions correctly before final assembly.
Reassembling the Laptop After Screen Replacement
Once testing is complete, reattach the bezel carefully by pressing along the edges until it snaps into place. Reinstall all screws and rubber covers removed earlier. Use a microfiber cloth to clean the screen and remove fingerprints or dust.
Reconnect the battery and power on the laptop again for a final inspection. A properly installed screen should display clearly without distortion or flicker.
Final Cleaning Steps After Screen Installation
Cleaning improves visibility and ensures no debris remains trapped inside the screen area. Inspect the edges carefully to confirm the bezel is fully secured.
When to Seek Professional Screen Replacement Help
Some laptops, including ultra-thin and gaming models, have complex internal designs. If you encounter resistance or uncertainty, contact Maxiple IT Services at 8882841303. Professional repair prevents costly mistakes.
How to Prevent Damage After You Replace a Laptop Screen Without Breaking It
Protecting your new screen helps extend its lifespan significantly. Avoid placing heavy objects on the laptop lid and never close it with items on the keyboard. Use a padded laptop bag during travel to minimize impact damage.
Clean the screen regularly using a soft microfiber cloth and approved cleaning solutions. Proper handling habits reduce the risk of cracks, scratches, and display failure over time.
Replacing a screen does not have to be stressful when done correctly. By following these steps, you can replace a laptop screen without breaking it and restore your device safely. For expert assistance or advanced laptop models, trust Maxiple IT Services. Call 8882841303 today for reliable and professional laptop repair services.